Meditative Repetition

Paper Connection’s Artist-in-Residence talks about rhythmic ease.
It’s wonderful to create but sometimes there is hesitation in starting something new or sometimes we don’t consider ourselves a real creator. News Flash: We are creators and have been from the get-go.
Take a jog back to your newborn self. You’re hungry and wet. Your baby self thinks, “look what happens when I cry.” And guess what? That baby got fed and diapered, and all was good in the world. That’s the creator speaking. That baby didn’t think, “I can’t do that.” That baby said, “I need to solve these issues I’m having.”
So don’t fake yourself out or analyze too much. Take a minute to realize every solving proposition, every yearning, every curiosity is an opportunity to create. We do it every day without a second thought. Yes, well, we aren’t all Michaelangelo. Sure, that’s true, but then again, no one is you, except you. I mean – like read Dr. Seuss. He knew this stuff.
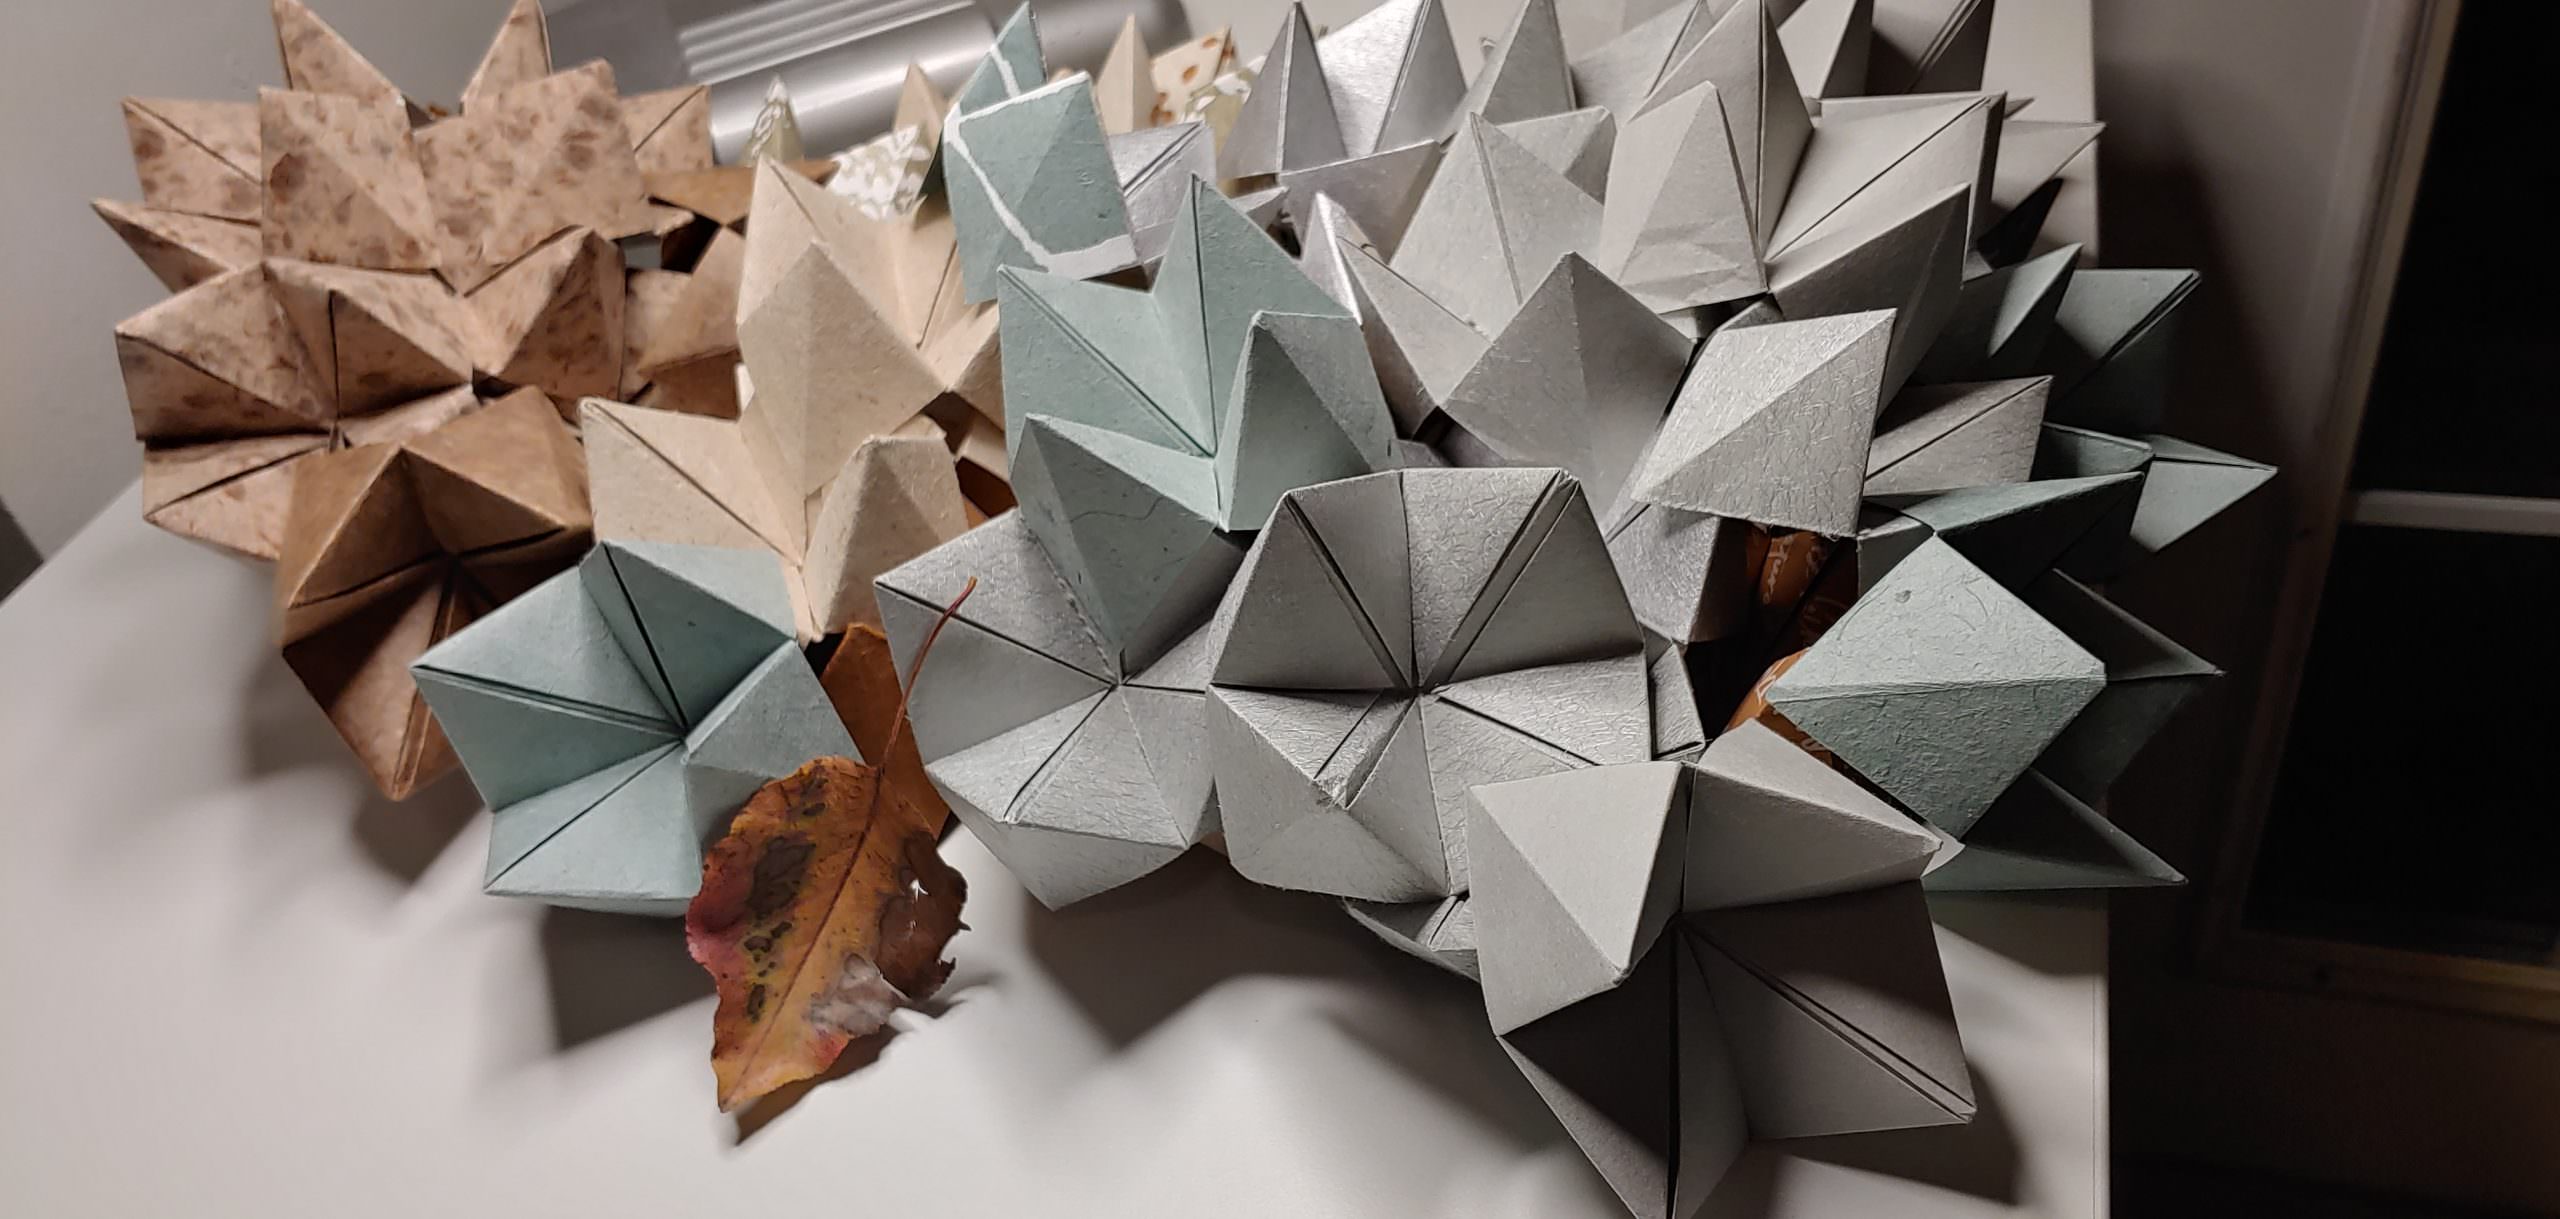
So here’s a fun project to make you laugh out loud and say, “Whoa, look what I just did.” Make no mistake, you need to learn. Once you get the hang of creating individual origami-like modules, you’ll own your own build. You can repeat and grow your design. Whether waterfall, topographical map, caterpillar, pyramid, or whatever makes you twinkle. No two, like those amazing snowflakes, will ever be quite alike.
Get out your paper, straight edge, flat surface, and maybe a gluestick (tape, glue gun, stapler) and I’ll show you how to get going. I’ve even provided a video for all you visual thinkers.
Note: This project is meditative, repetitive, and soothing. So put on a rerun of “Sisters,” “Sabrina,” “Grace and Frankie,” “Six Feet Under,” or “Chef John.” Watch or listen to what makes you happy and if your table needs to be set for 6 p.m. dinner, find an out-of-the-way place to fold, cut, and glue. BTW, easy on the gluestick. It’s super great to make your piece changeable.
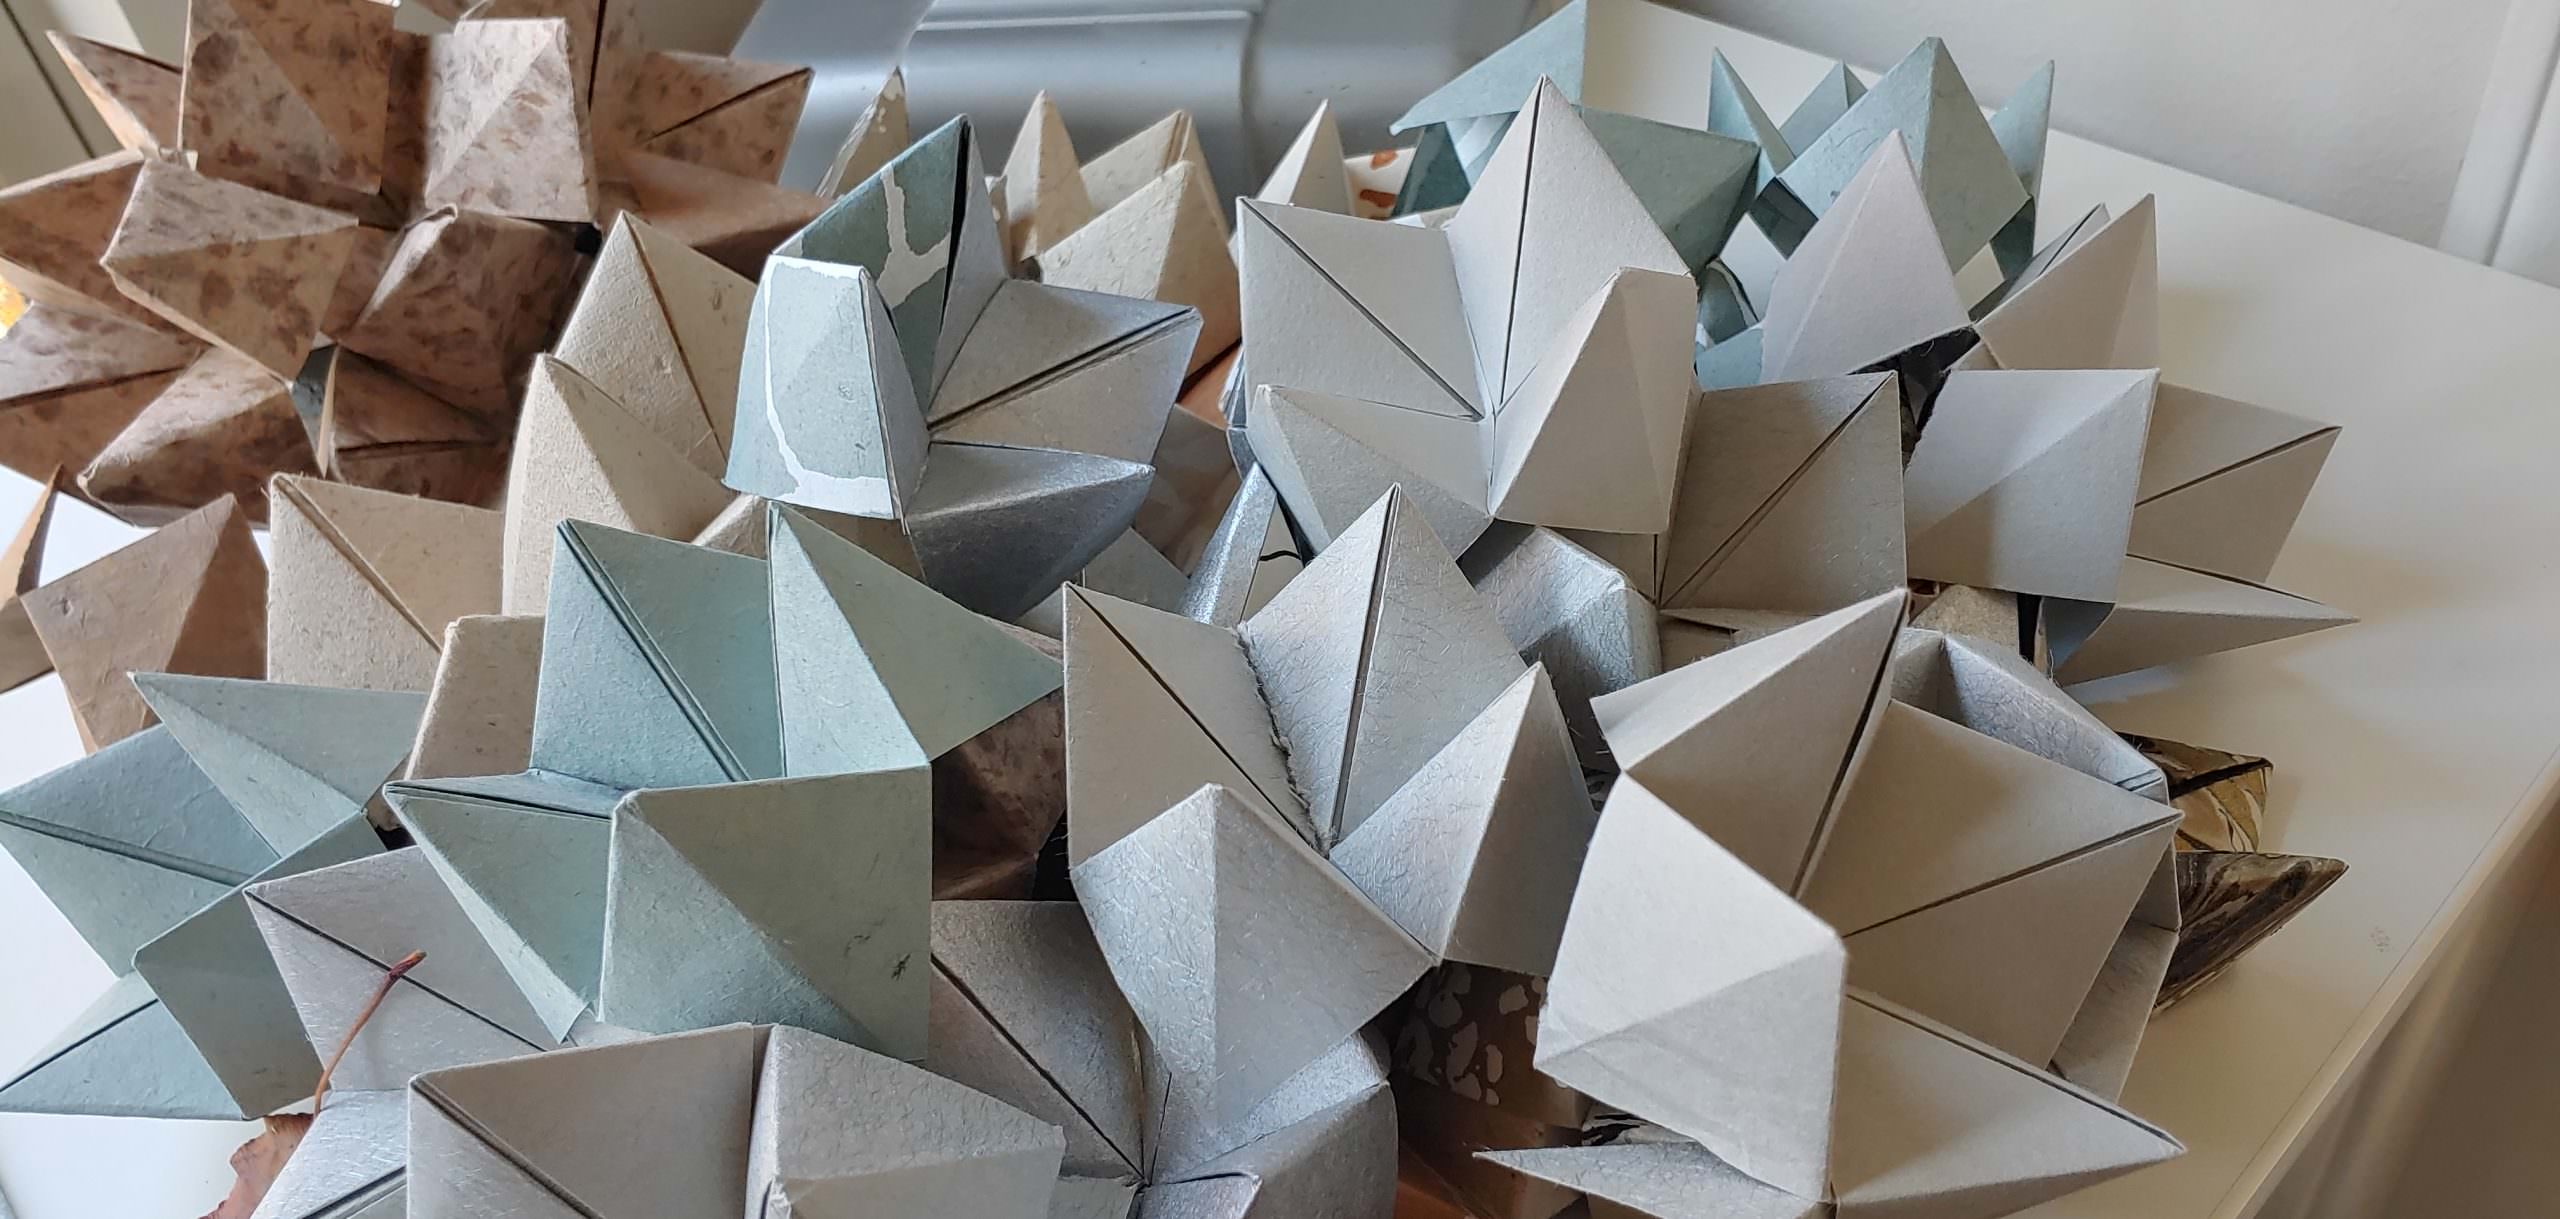
Don’t be intimidated. You can do this. It’s building blocks that fit together. There is no right way, just your way. Trust in yourself and I beg you, don’t hyper-criticalize . . . is that a word? My video helps. I also pulled from the internet a line-drawn folding tutorial you might find helpful module making.
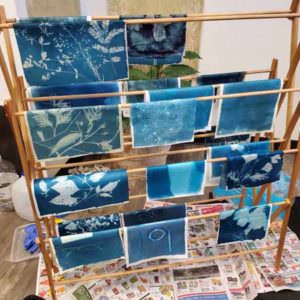
So you know, the beginnings of my process did not start with beautiful paper. No way was I using Lauren’s (PCI’s) handmade paper when I had no clue what I was creating.
Be experimental and curious. For example, I used the pages from a catalog the first time around. The paper was way too thin. One sheet wasn’t enough so I doubled up (or more). I also found that humidity with “catalog” paper caused major bowing of edges. Fine for an experiment but not great for an end result.
Final materials for my piece:
- PCI Papers: Lokta Paper from Nepal, Hand made An-Jing from China made from Xuan Fiber, Echizen from Japan, Moyou-Shi from Kochi Japan (Note: this process requires that each piece of paper is square and the same size)
- Straight edge
- Sharp cutting edge (scissors, Exacto, knife)
- Matt board (something to cut on that you don’t care if your knife makes a mark on)
- Gluestick (tape, glue gun, stapler)
If you get into the whole origami aspect of this process, here’s another cool tutorial area to take you further. I would love to see your creations!
Learn How to Make Origami With These Easy Online Tutorials (mymodernmet.com)
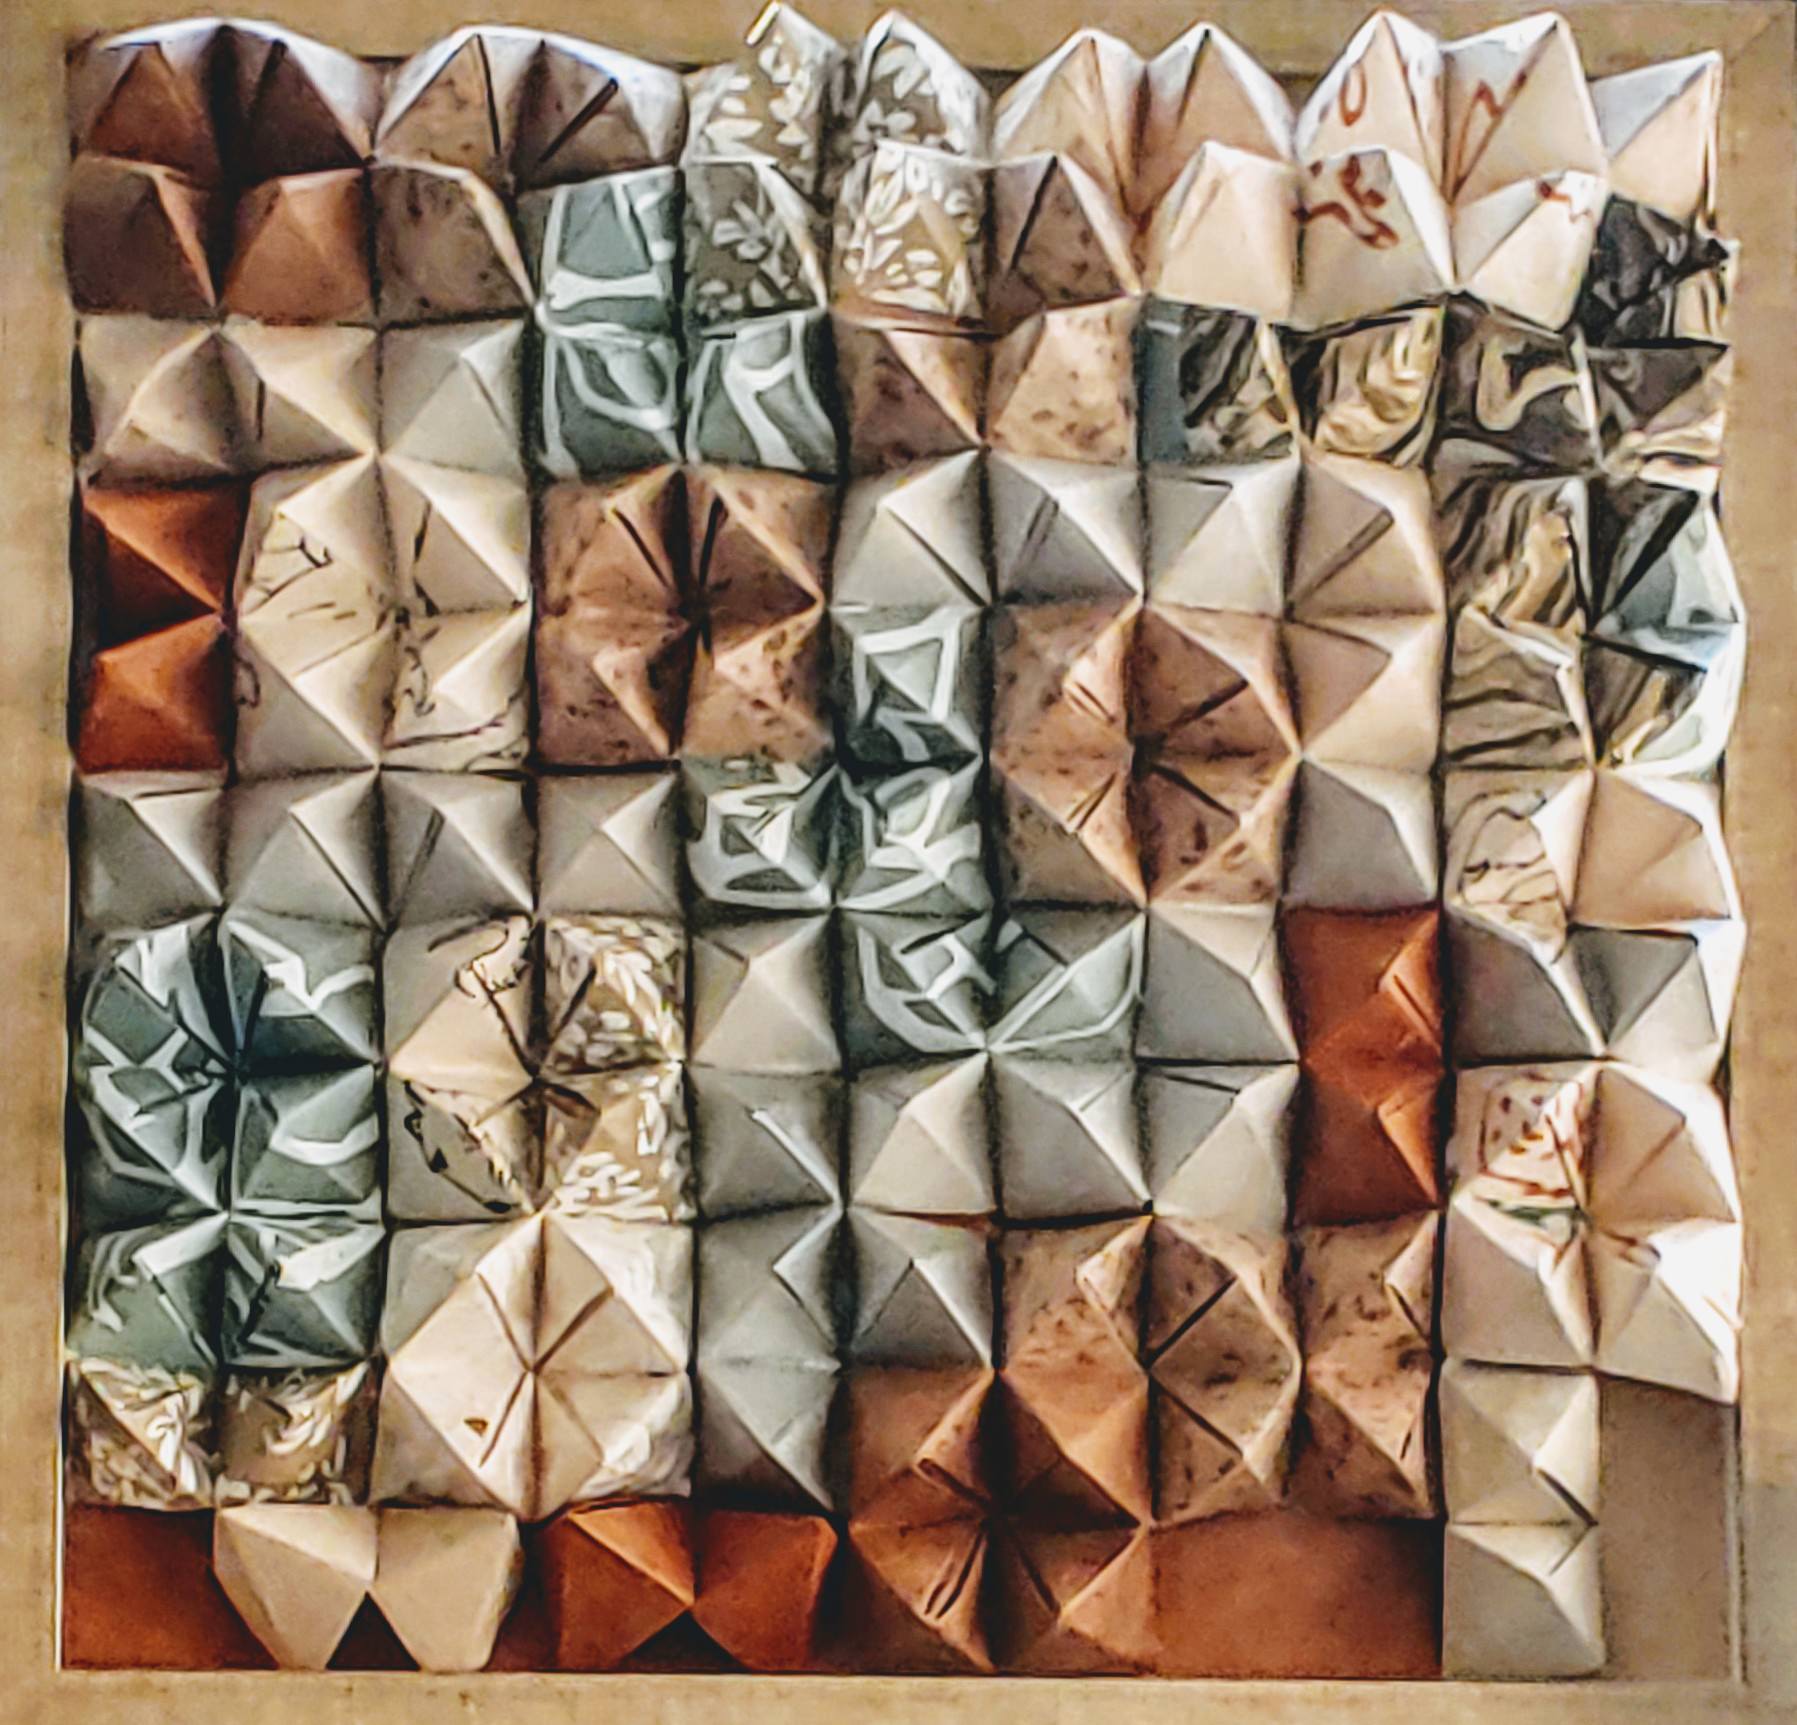
Diversity of Texture
Contact Lauren @ PCI for great paper options.
All images courtesy of Fricka
fricka – artist in residence – our papers help tell your story. want more? https://paperconnection.com/news/