
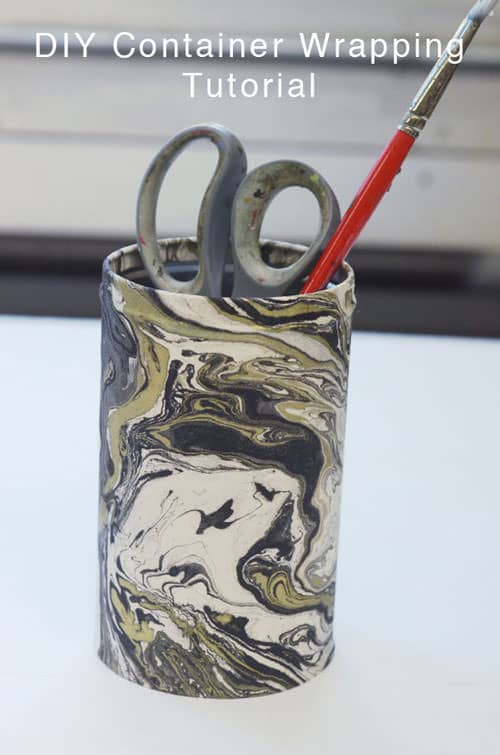
 How about wrapping a simple empty cookie tin to pretty-up your desk or kitchen storage, make a quick vase or gift?
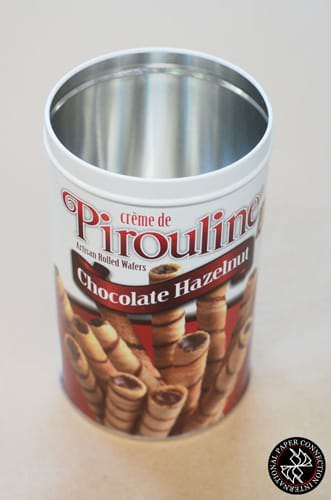
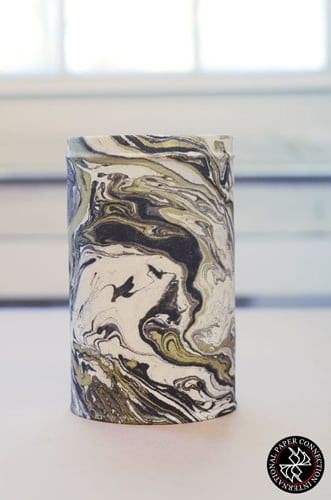
After our last DIY tutorial, we felt ready to tackle wrapping a tin with some beautiful hand-made marbled lokta from Nepal to make a unique up-cycled object.
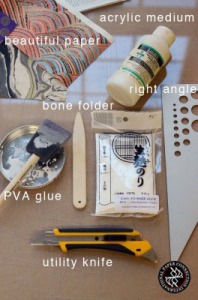
What you will need:
Step One:
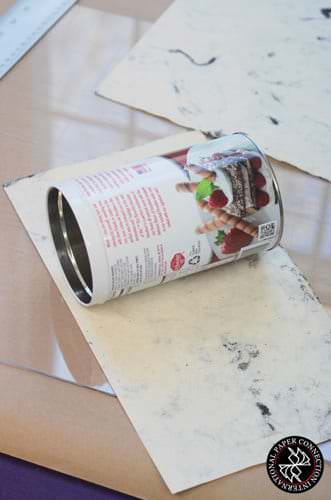
Cut down a piece of paper to the size of the tin, leaving about a 1/4 inch extra on the top and bottom and at least one inch added to the length. Apply a coat of glue to the backside of the paper, and make sure you get all the edges.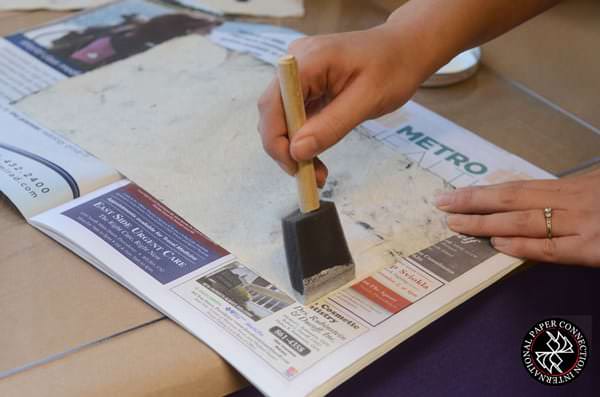 Step Two:
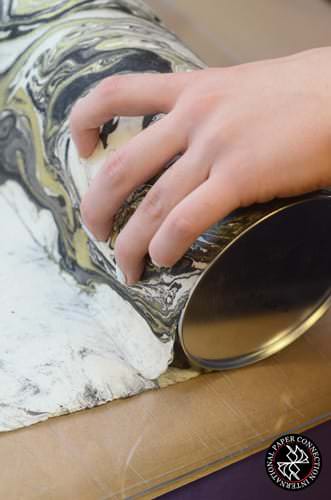
Place the tin centered (vertically) on the paper leaving an extra 1/4 inch on the top and bottom to be folded over later. Align the tin at one end of the paper and roll it slowly with two hands, smoothing the paper from the center out as you go.
Step Three:
Pinch the extra paper around the edge of the tin on the top and bottom. Cut out a circle big enough to cover exposed tin area on bottom and adhere cut circle with glue. Burnish out any wrinkles and you’re done!
You can apply a clear coat of acrylic medium to the finished object to protect the surface, and add a slight sheen. This will also make the colors appear more saturated. You can also rub a clear wax candle (solid wax) to cover the paper to create a barrier, helping resist oil stains and fingerprints.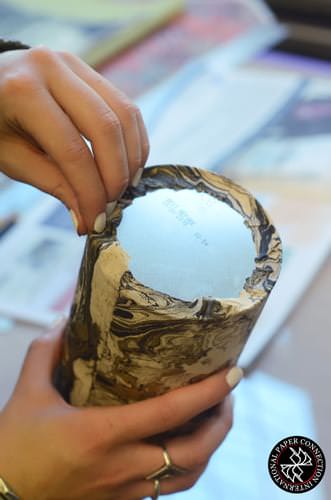
1 comment
Ouiji Morris
Cute