

 We had so much fun with our last DIY tutorial, and with so many handmade papers at our disposal at the Paper Connection warehouse, we wanted to share some up-cycling projects using smaller decorative paper scraps and thrift store finds. Have a small piece of patterned paper lying around from an old project? Or an old frame? If so, I bet you’ll love our new DIY demos!
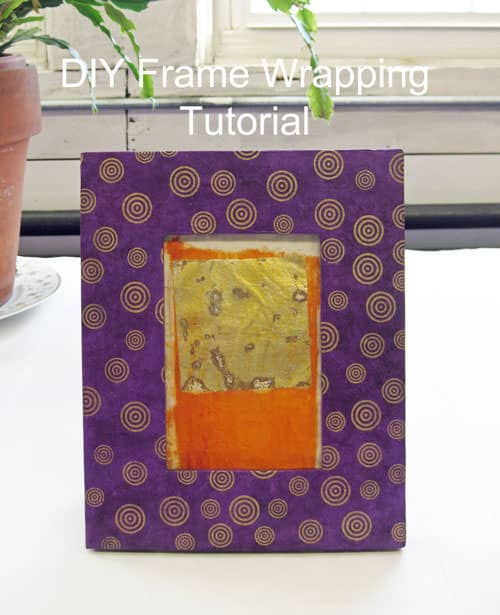
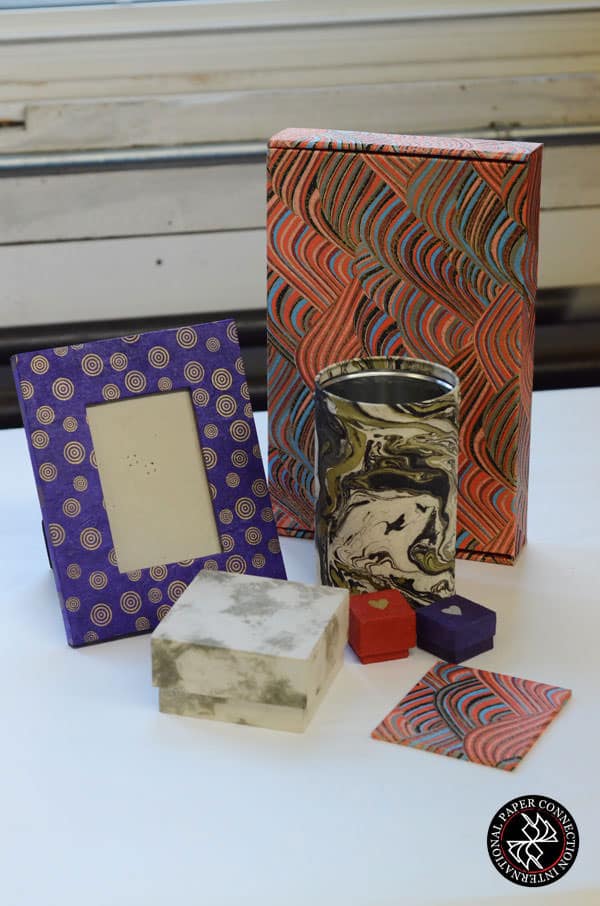
For this demo, we used patterned lokta to frame a piece of Joss paper, a traditional Chinese gold leaf paper.
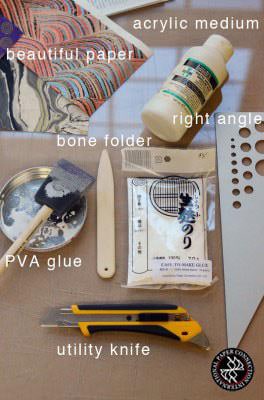
WHAT YOU WILL NEED:
Step One:
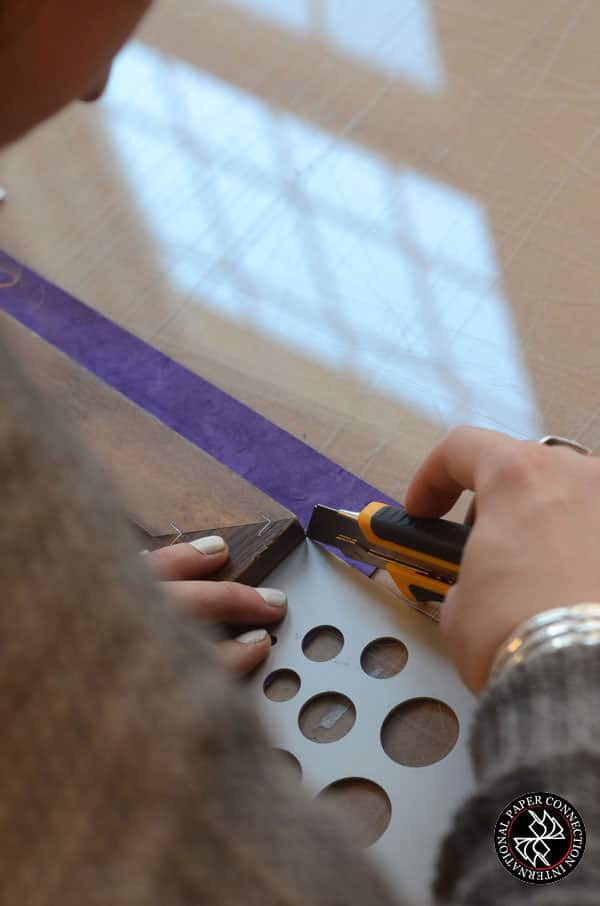
Place the frame on top of a piece of paper, trim it down so that there are approximately 1-inch borders around the edges. Then, cut out a window in the center, leaving an extra ~1/4 inch.

 Step Two:
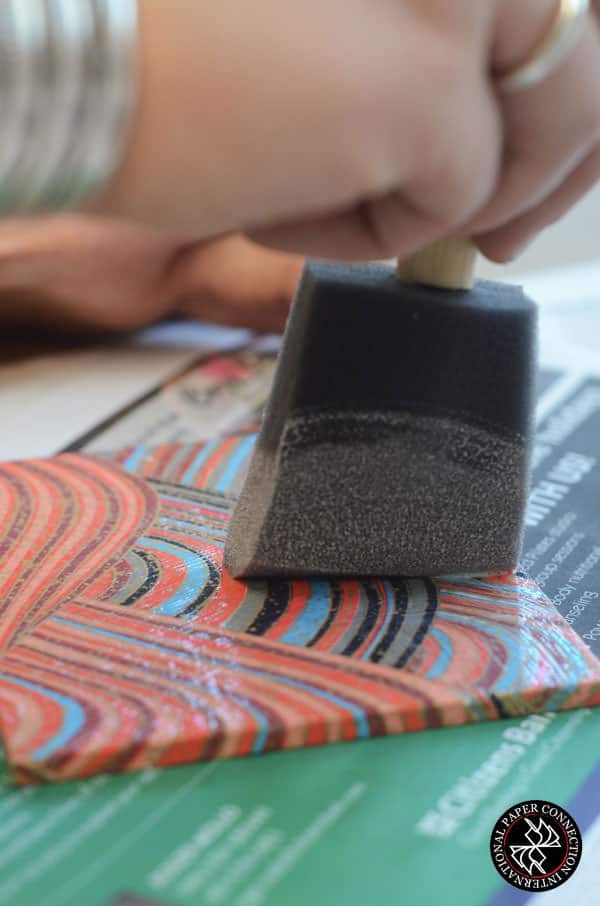
Apply the PVA Glue to the front of the frame and place frame face down centered around the opening. We also included wheat paste on our supply list; takes a little longer to dry, but creates a very strong bond with paper. We used a sponge brush to apply the glue.
 Step Three:
Using the right angle tool, cut a flap, to later be folded over. You can cut the flap a number of ways, we chose to follow around the frame clockwise, as opposed to lining up the top and bottom. For the center opening, we eyeballed a 45-degree angle for the cut.
Step Four:
Apply the glue with the sponge brush to the flaps . 
Step Five:
Fold the LONG side of the flap over FIRST. If you mistakenly fold the short side over first, (like we did), just trim off the long part and if you are using handmade paper it is pretty flexible and you can stretch it to meet the other piece. Same rule applies to the inside flaps- getting a perfect 45-degree angle is difficult, so a little fudging while the flap is wet 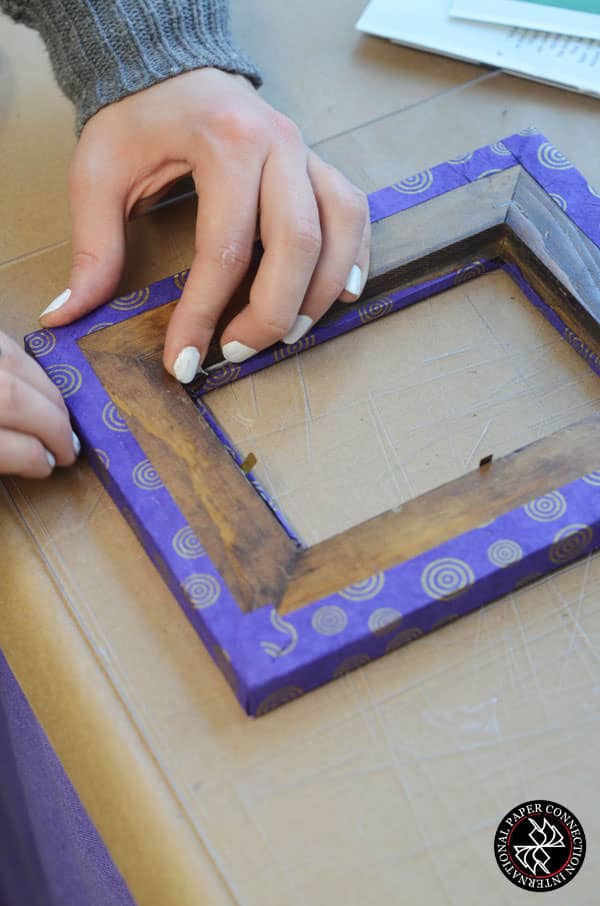 with glue will allow for a certain margin of error. Fold the extra paper around the back of the frame.
Step Six: Burnish the face and edge of the frame with the bone folder to make sure there are no bubbles or creases.
Step Seven:
This step is optional, however, while you have all of your supplies out, use a scrap to make a coaster! We used a a small piece of yuzen or chiyogami and a scrap of masonite. You could also use an old coaster, or a scrap of wood. Follow steps 1-6 and once you finish, apply the acrylic medium (also referred to as matte medium or gel medium) as a top coat to the coaster (and frame) for a slightly shinier, and better protected surface. It will also make the color of whatever paper you use a little more saturated. And you’re done! 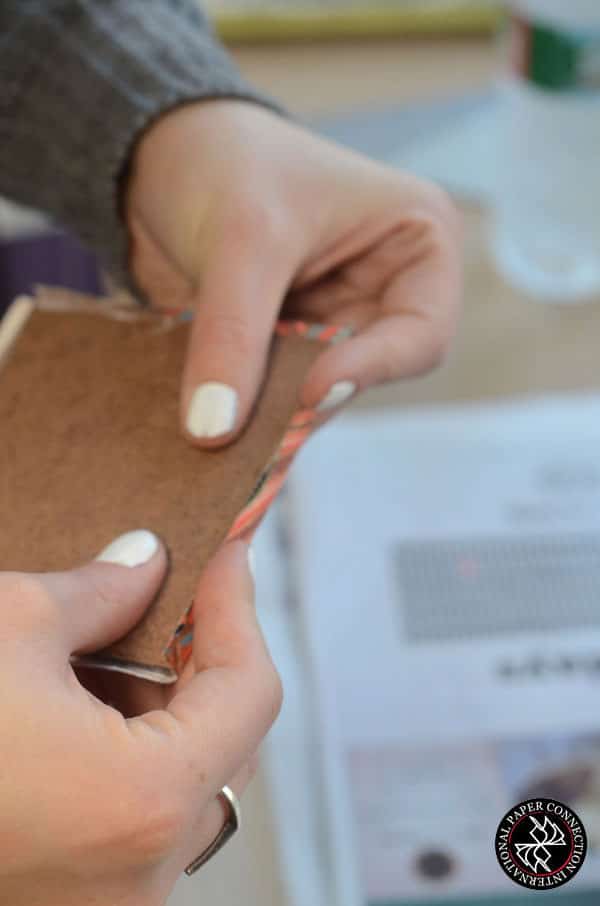
How to wrap a cylinder, coming in the next DIY tutorial.
For more interesting paper news, check out our Facebook page and our website Paper Connection.